Showing posts with label Brief 1 - My Design Process. Show all posts

Friday, 10 October 2014

OUGD504 - My Design Process - Evaluation

General Feelings

When I first read the brief I was really excited about the project because it gave me the opportunity to design something where I was the target audience, which hasn't really been the case on the course up to now. Looking back on it I shouldn't have thought that at all, because what I actually did was design something that reflects myself rather than something for myself, and I think that's a success in itself as I had to put thought into every decision rather than just doing something because I liked it.

Successes

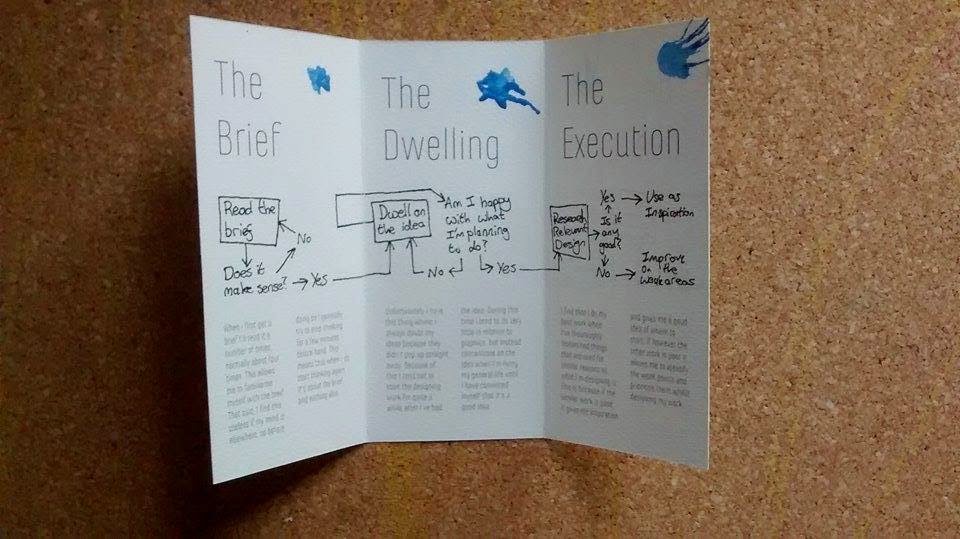
I think the main successes in this brief have revolved around the problems, which is odd. Firstly I was struggling to find a creative method of folding the paper, which seemed like a bad thing at the time. Retrospectively this was a blessing in disguise as it encouraged me to stick to more traditional folding method, and that is reflective of my "no nonsense" sort of approach to me design. Secondly I was struggling to fold the paper because of it's thickness, and given that this module is about production, this was a big problem. I think that the stock I chose was the perfect choice for something that reflects myself and my process, and although that was what created the problem, the problem wouldn't have existed if I hadn't have chosen the stock so relevantly. Lastly I think that my inability to find suitable stock of either of the colours I wanted to try as a background worked in my favour, because when I did experiment with colour it made me realise how the design was against just the texture as a background, and by not using a coloured background the texture is only emphasised more.

Changes

If I was to do this project again I honestly don't think I'd change much at all, and I think this is testament to how much I took from the studio tasks relating to this brief, and to how solid my design process generally is, even if it's not the most creative system in the world. The only thing I would say about this project is that it took me by surprise how quickly we got back into work, and subsequently I made a very slow start to the project. Obviously this is completely my fault and shouldn't have been the case.

Going Forward

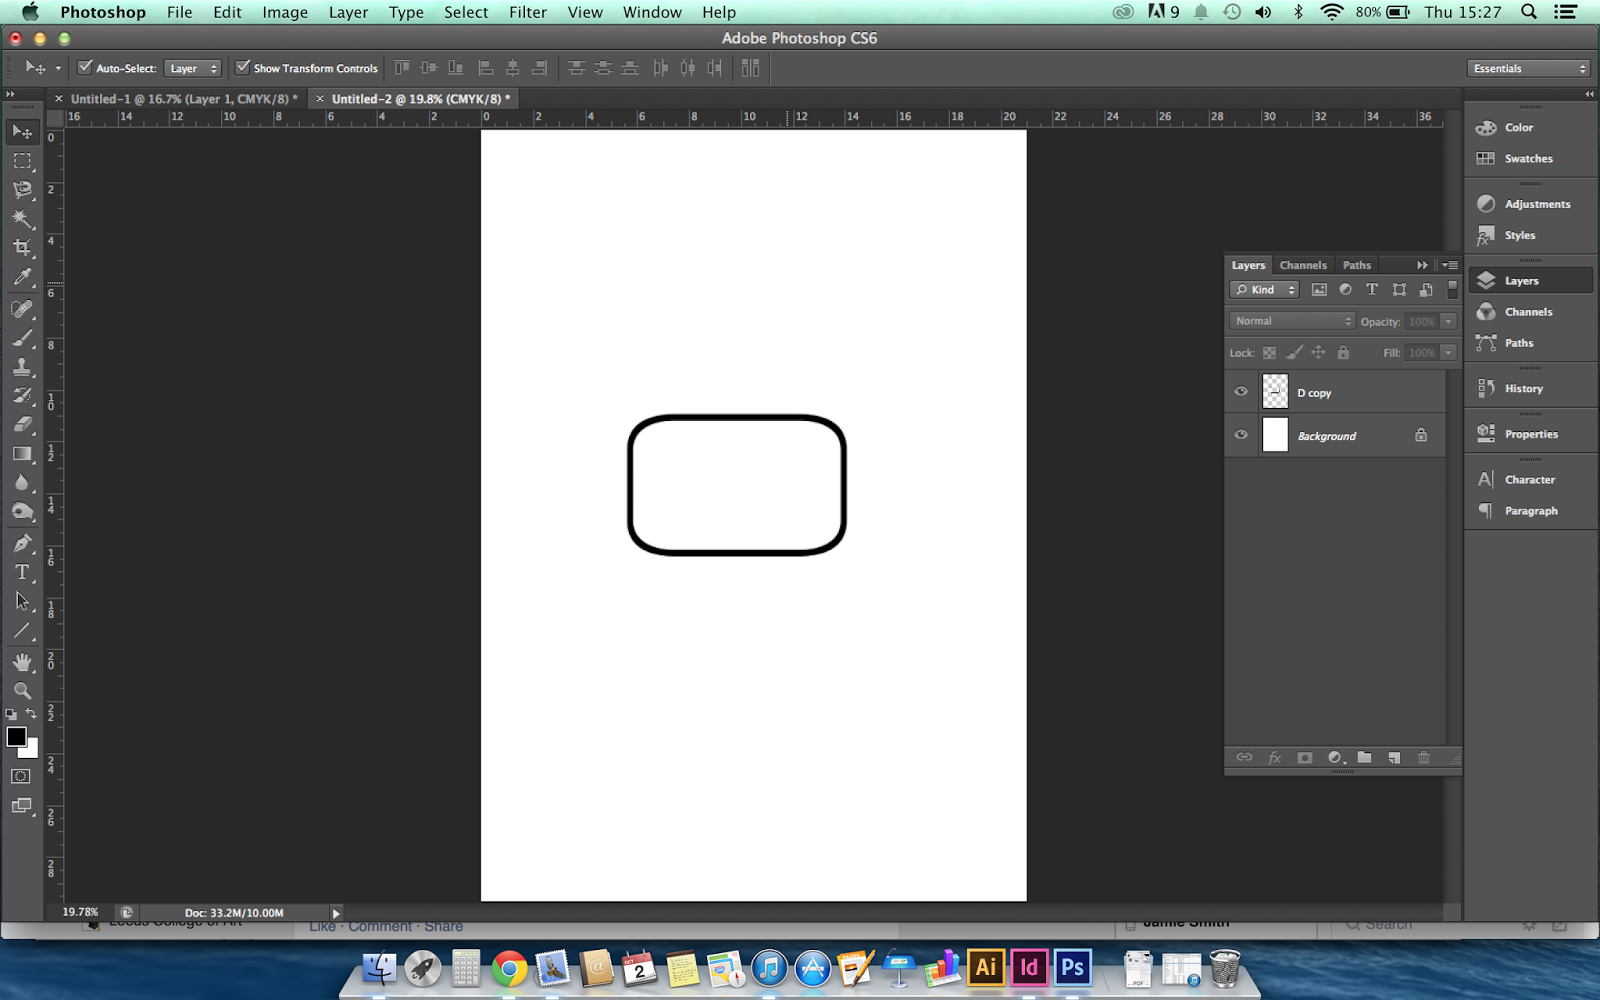
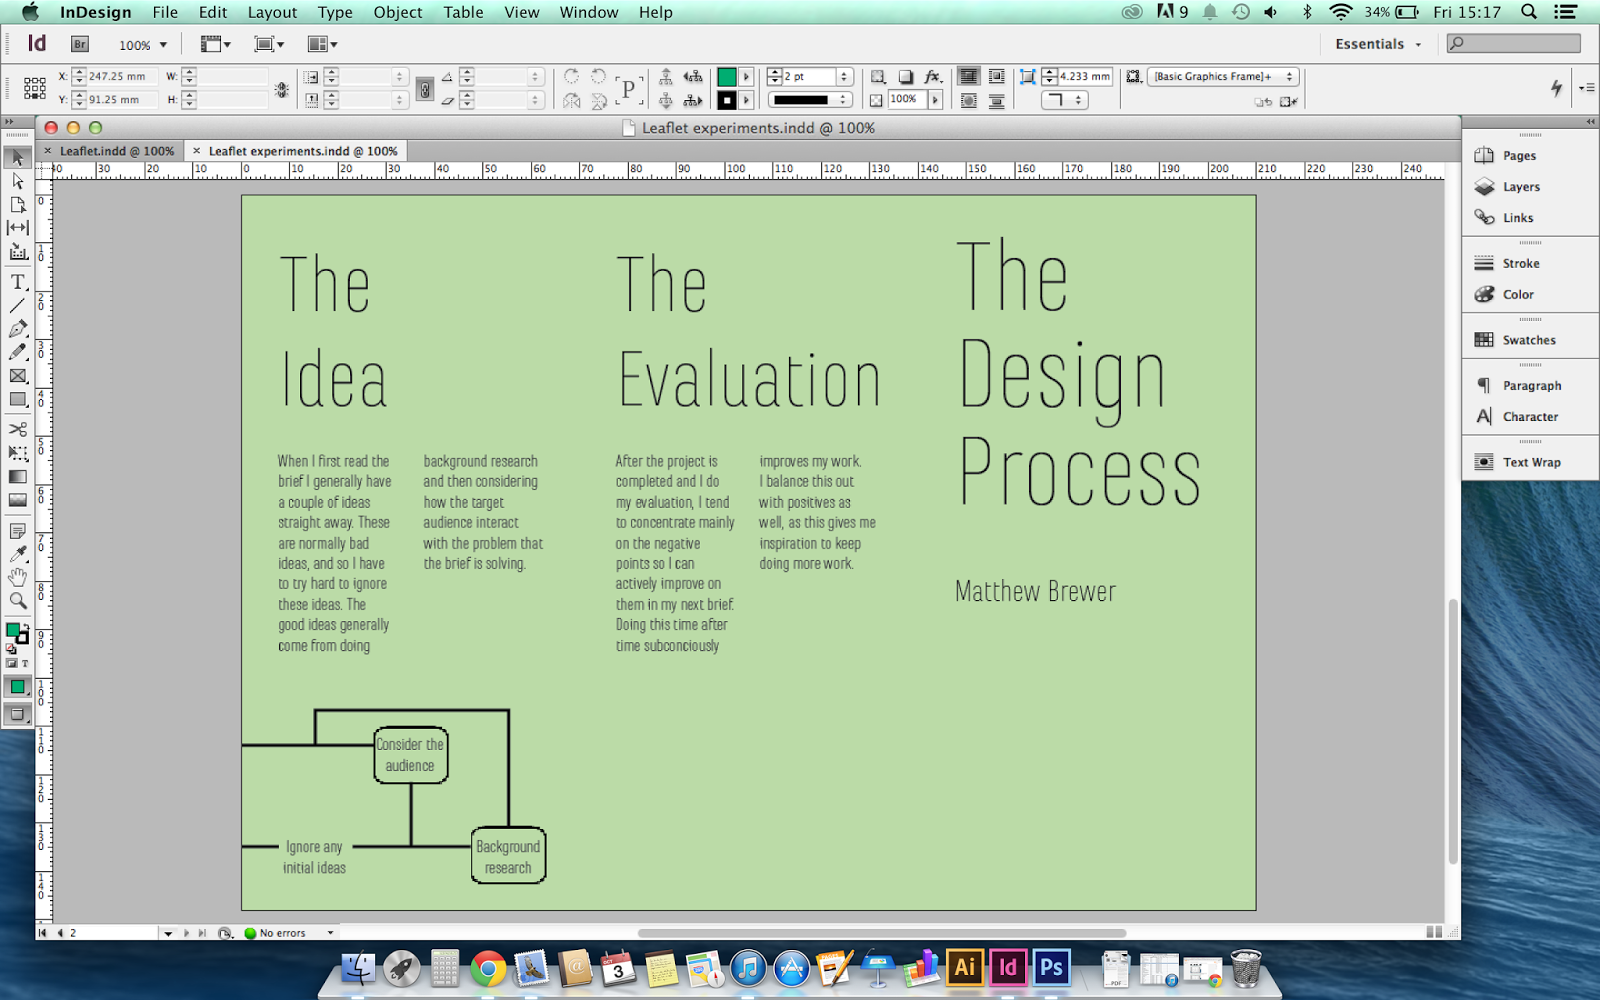
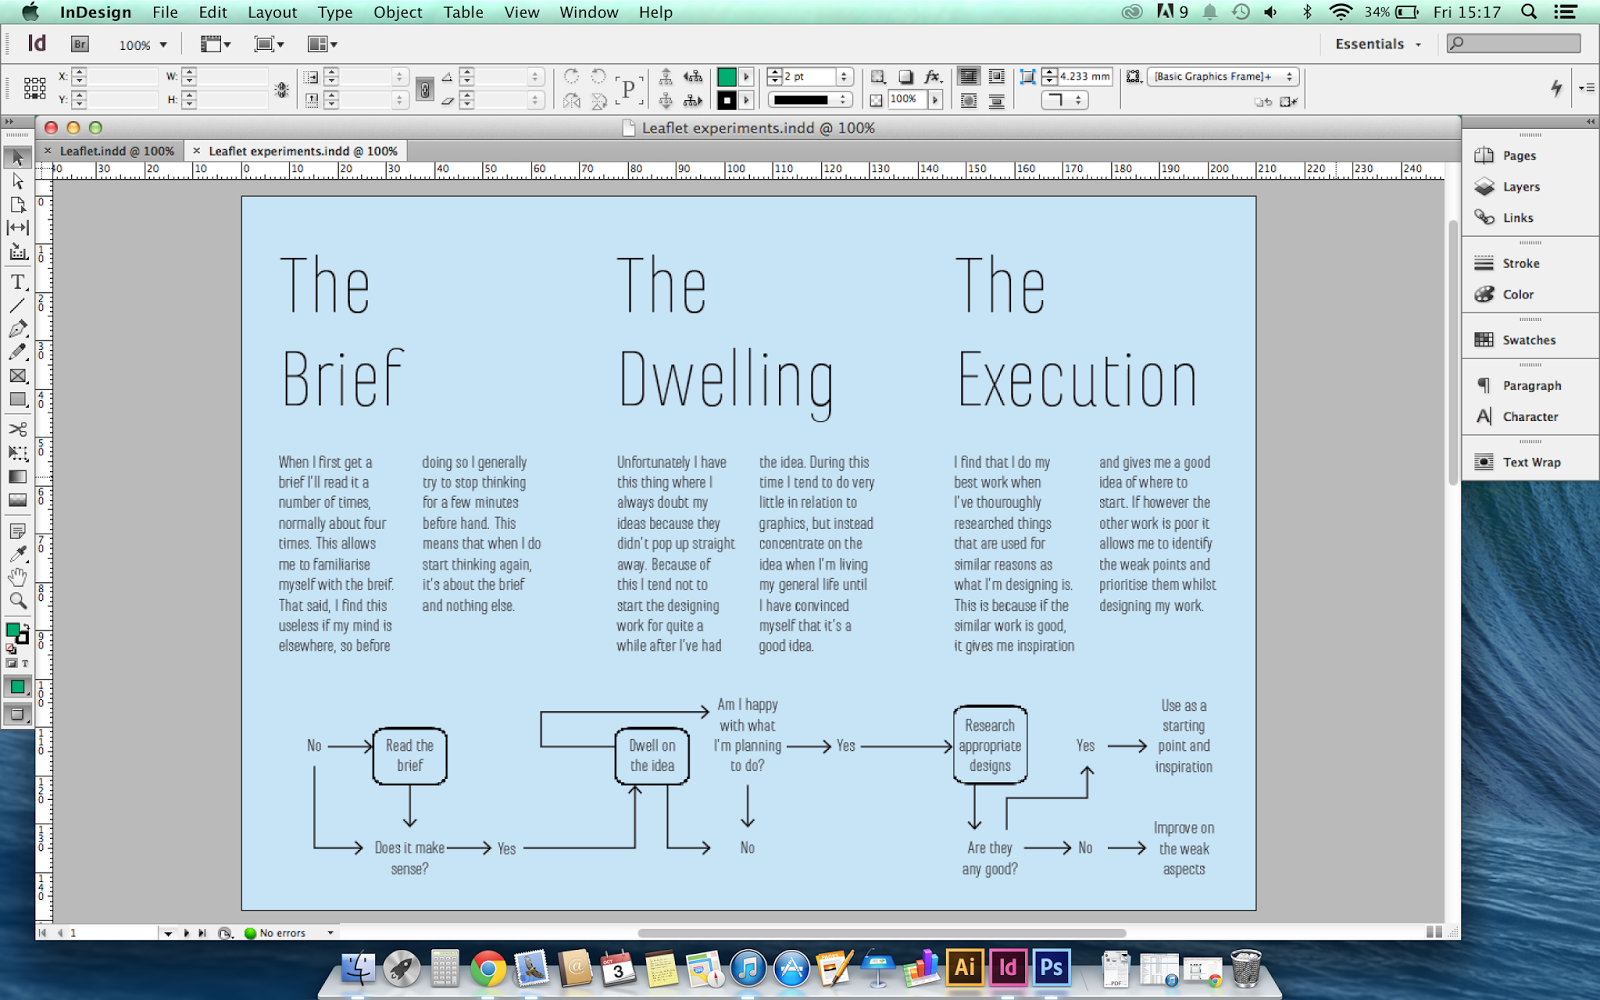
This is the first project that I’ve ever done that, looking back on, I feel I’ve used Photoshop and InDesign properly in conjunction with each other. I think this has made me realise just how far I’ve come as a designer, which has made me feel really positive about design again, as towards the end of last year I felt as if I was stuck in a bit of a rut. Hopefully this can be representative of everything I do this year, as I feel like a did a much more professional job of this brief than any of last years brief, and subsequently am much happier with the outcome. I look forward to carrying this attitude into this year. 

Thursday, 9 October 2014

OUGD504 - My Design Process - Evaluation of Colour


Today I painted over some of the rough printouts of my leaflet on the watercolour paper to assess how they effect the final product. I bought some watercolour paints yesterday so I can do a better and more consistent job this time round.

I started off with the green one paint. I found that to get the colour the right sort of saturation that I wanted, the weight of the paint initially made the structural integrity of the paper go out of the window, it was curling everywhere. 

On top of this, I found that thickness of the paint meant that some of the body copy was wiped off. Taking this into account I decided to use considerably thinner paint for the blue experiment.


The paint used for the blue experiment was a lot thinner than the green paint was to avoid taking the ink of the paper. Whilst this was successful, the paint was that watery that you could hardly notice the blue apart from in the fold creases.

As you can see, the paper naturally opened up after it had been painted whereas before the creases stayed pretty firmly shut.


I took a different approach and tried adding splatters of colour in the corner of each page, but I found this clashed pretty badly with the fairly minimal design across the other aspects of the leaflet, so in the end product I'm going to just stick with no colour.


Monday, 6 October 2014

OUGD504 - My Design Process - Printing Problems

Problem 1

The first problem I had today was that the paint had dried a bit sticky on the paper that I'd painted the other day in preparation. It was only a little bit sticky, but I didn't want to put it through the printer as it would risk getting paint on other peoples printouts, which wasn't something I was prepared to do.


Problem 2

The test prints came out well and were very satisfactory, which is always nice, the diagram even aligned perfectly from the back page onto the front page.


However, when I printed onto the waterproof paper, things started going wrong. 

My initial one had terrible alignment in from the back page into the inside pages.
Not only that, but use the bone folder slightly smudged and removed some of the ink that hadn't fully set into the page yet.


Problem 3

When I tried again I waited longer for the ink to set in before using the bone folder and I didn't have any problems with the ink.


 When I turned over to the back the whole page was offset. I'm not entirely sure what caused this as I used the same print settings as before. I can only put this down to me cutting the paper up sloppily from A2 to A4, but even then I'm not sure if that's a legitimate reason as it should still be centred.


OUGD504 - My Design Process - Design Changes

Building on what was brought up in the crit, I decided to try out a hand-drawn diagram in my leaflet. I drew the diagram a few times in various styles on bits of paper that were the size the diagram would be when printed out.


I decided to go with the bottom variant as I felt it had a nice balance between boldness and scratchiness. I then drew the section of the diagram for the ideas page afterwards to match it.


Adding it in looked like this, and I felt that the weight of the diagram and the title hid the text, which was something I didn't like.


So I switched round the positions of the text and the diagram and was much happier with the hierarchy this way.


Saturday, 4 October 2014

OUGD504 - My Design Choices - Stock Experiment

I had a look in the library yesterday to see if they had any stock that would've been suitable for me to use. The colour of the green and blue stock they had in was too saturated and bright for what I'd need, although they did have some sheets of watercolour paper, which I thought I'd do some experiments with.

Although it's not coloured, due to the fact that it's watercolour paper, I'd have thought that I'd be able to paint it without it curling and then print on top of it.

It's textured and is the right sort of thickness that I'm looking for, and if the idea of painting it works, this would be perfect because me painting the stock just makes it something that's even more personal to me.


Unfortunately I don't have a massive amount of paint at home, and so I painted an A5 section of each side green or blue so I can print on it on Monday, and see how the leaflet looks on both green and blue.

When the green section had dried, the texture on the page was still visible to the eye as well as to the touch, which is good. 


My painting quite clearly leaves something to be desired, but if I do choose to use this method for my final leaflet I'll buy more paint so I can mix more and not be left with so many streaks.

Friday, 3 October 2014

OUGD504 - My Design Process - Design Choices


Font and Text Layout

I started at the top of the hierarchy and decided what font I should use for the front title. It was always going to be a sans serif font purely because I think sans serif fonts generally look a lot nicer than serifs.

I tried out a few different typefaces, but my favourite two were Futura and Marianina because of how the taller, thinner letterforms leant themselves to the thin shape of the leaflet. Impact, whilst having tall letters, I felt was too loud for something that was meant to reflect myself.


After experimenting further with both Futura and Marianina, I decided to use Marianina Thin, because the extra thinness of the letters emphasises the tallness and leant themselves to the shape of the booklet, particularly the upper case D and P. Not only this, but the relatively large spaces between the letters leant itself well to the idea of the sections of my process being separate. Further to this, the thinness allowed me to increase the point size which also makes slightly better use of the page space, it seems the like perfect choice.


Consistency was something I wanted to focus on in this brief, so I decided to use Marianina for the remainder of the titles, although made smaller to give them the impression of being encapsulated by the process as a whole.

I started off using Marianina regular for the body font, as I felt it to be the most legible at small sizes. 

By using a two column text grid it keeps the idea of thinness, whereas I feel like one fat column would have clashed with the narrow letters.


However, when I viewed the page at actual size, the large x-height of the typeface lead to the body copy looking a lot darker than the titles, which is something that I think looks ugly.


So whilst keeping the view on actual size, I switched the font to the thin version, the same used as the titles. This solved the problem of the darkness, but made the body copy too small to be readable.


Increasing the point size from 9pt to 10pt solved this though.


Diagram

For the diagram I started out using the same point size text as in the body copy. I also used the capital D from the typeface to create the boxes from a flow chart sort of thing.


I found that my initial diagram was too busy and intrusive on the rest of the page layout, given the amount of white on the page due to the narrow typeface used. 


I then altered it to make it less dark and intrusive by only using the borders on the section that specifically applies to the page it's on to make it clear how each page links to the diagram. I lowered the diagram to make it less intrusive on the rest of the page, added arrows to make clearer the direction of some of the information flow, and thinned the lines to decrease the darkness on the page.

Stock and Colour

I want to use a stock with a fairly rough texture because I would associate that with rigidity and sturdiness, which is something I also associate with my design process. It needs to be of a weight that allows the folds to stay folded to keep it tidy, but at the same time it needs to be thick enough to support itself when it stands up.

I wanted to use a slightly off white colour because I think using it in conjunction with just black ink reflects the simplicity of the process better than any other colour could do. Arguably this could look very dull due to the lack of colour and images though, so I will print it on a few different colours first to assess this. Personally I feel that either bright green or pale would be the most suitable, as bright green reflects positivity and motivation whilst a pale blue suggests calmness and organisation.


After experimenting with colour on the InDesign file I came to the conclusion that colour is needed on the background. I found the green much more appropriate than the blue as the blue looked quite maternal. This was because both colours needed to be quite lightly tinted in order to allow the text to be fully legible.

I very much doubt I'll be able to find textured stock of this sort of green colour, so I think I'll probably end up buying a plain coloured stock of the right weight and either dying it it or using watercolour paint to tint it before printing on it. 

OUGD504 - My Design Process - Crit

My preparation for todays crit was very poor. All I had to show was a scrappy piece of lined paper ripped out of my sketchbook with pencil writing on it that I'd used to give myself an idea of what information would go where, as well as a very early stages of my InDesign document.


The scrap of paper was by no means impressive, but the screenshot was enough to get some ideas out of people. When we discussed the lack of colour and I gave my reasons for it, the general response was that if I wasn't going to be using images, I needed to use a colour background, which is something I'll definitely consider.


Something more interesting came up was that the diagram was too mechanical and the hand drawn rough sketch on the piece of paper was more appropriate and that I should look into using a hand drawn sketch to make it more personal, which is again something that I'll need to look into. 

Other than that the only other things that were said was that because I was using a simple fold I'd need to take particular care with it and make sure it was all perfect as there was no excuse to mess it up, compared to other people who's folds were much more complicated and had meant that the alignment of the printing was off. Whilst I accept this as a problem I see it as a much easier problem to address than aligning printing and folding with each other, which is something I think some people haven't considered in their designs but won't be causing me any problems due to the nature of my design and fold. 

Thursday, 2 October 2014

OUGD504 - My Design Process - Leaflet and Brochure Design

Before designing my leaflet I looked at some cool leaflet and brochure designs on the internet for some inspiration. I found quite a few useful ideas.

Using a fairly light background makes things colourful without being too bright. This looks like it works especially well with black text due to the contrast.


I like the idea of having some sort of continuous pattern or image running through the leaflet because it keeps the separate parts of the leaflet together.


Using textured stock is a really nice feature because the rough texture makes the paper feel nicer in your hands. Generally printers don't print as well on highly textured papers though, so I'd need to experiment with the ability to print before I started working.


Spot varnishing, embossing and foil blocking makes things look a lot classier when used well. I've had no experience of using any of these things though, and in a one week brief I don't think this is the time to start experimenting. I'm pretty sure I'd need inductions for these processes anyway and I doubt there'd be time to have them before the end of the brief. These are things I'd like to experiment with in the future though, because I think they produce really nice looking results.


OUGD504 - My Design Process - Thoughts on my Leaflet

I started thinking about what sort of attributes my leaflets fold should have based on the nature of my design process. Added onto this I also started considering attributes that I'd like my leaflet to have, because inevitably the outcome is also a part of the design process, and I feel like because of this the design should reflect what I enjoy designing. Thinking about these attributes will help me make a more appropriate decision in regards to my folding.

My Process
  • The process I go through is very methodical, structured and solid. Because of this I feel like my folding should try and avoid little delicate areas, as a more rigid leaflet better reflects structure.
  • I feel like my process is pretty linear, and so the leaflet should be presented in such a way where the flow of information is very much a one directional thing.
  • There's nothing in my process that stands out as being overly unique, and so I feel like my fold shouldn't be anything extravagant because it doesn't reflect the almost generic/boring feel of my process.

Attributes
  • I'd like for my leaflet to be primarily text based, as I don't really see any appropriate use of image in this project. Given that the outcome is meant to be informative text seems a lot more appropriate.
  • I'd like the links between my leaflets layout and my design process to be fairly obvious as I feel that's the best way to avoid pretentiousness, which is something I'm not a fan of in design. 
  • My leaflets layout should be clear and make obvious to the reader the order in which the information is to be processed, as that's what I believe good design is, something where the audience is positioned to be on the same wavelength of the designer.

Wednesday, 1 October 2014

OUGD504 - My Design Process - Leaflet Research Ideas

Research

After my admittedly less than innovative folding "ideas" from earlier, I've come to the conclusion that I'm probably better off trying to adapt some existing ideas for the fold in my leaflet rather than come up with my own.

There were quite a few cool ideas on Pinterest which could be made into leaflets that weren't necessarily used for leaflets initially.


I'd not even considered the final shape of the design, but this is quite cool in that the content of the whatever this is informs the shape of it. This can't be the most useful shape design for text based information though, and at the same time it really limits what shape and size images you can use.


What strikes me about this idea is the ability to have the frailty of having cutout sections but still having the security of it being able to stand up with the inside fold. What I don't like however is that when this is flat it would look very square and not very compact.


This design takes the opposite approach to a regular leaflet and starts as a 3D object and folds out to become 2D. Although this is pretty much the opposite of what a leaflet is supposed to do it could still be an interesting concept to run with.


Using empty space to emphasise and/or border something is something I'd never have thought of given that using a border or something is usually how something is emphasised. Quite a cool idea in my opinion.


I think this is quite cool in how it gives the impression of something being revealed. I can't really see how I could adapt this into the form of a leaflet, but I think the spiky exterior making use of folds to create 3D triangles is usable. I'd have thought a dark stock would help as well because it'd minimise the impact of shadow on the design. 


My Efforts

I found this really cool website, http://foldingtechniques.com/, which has short videos demonstrating how to fold paper in various inventive ways. I had a go at some of them, with varying degrees of success.


X-Form Fold

The x-form fold looks like it could mainly be used for decorative purposes rather than informative ones, but it looked pretty complicated to make, so I thought I'd have a go at it to test both the limitations of the folding process and also my ability and accuracy at folding. 


I found this one incredibly hard, but I don't think it was helped by the fact that you needed to start with square paper. This meant I had to cut my own out and it was definitely not square.
The  outcome looks really nice though, and using different coloured triangles would make this sort of folding look really nice because of the shadows it creates.


V-Pleat Fold

The v-pleat fold was one that someone did in the workshop, at the time I thought it was amazing, but when it came to doing it myself following the instructions it was slightly less impressive after I realised how it was done.


This is another one that starts with a square but of paper, but this one was considerably easier to fold and for a lot less reward.
I feel like this doesn't open out enough to provide enough space for images or even text. On top of this, the flat form is so much uglier than the folded form I wouldn't want to put the two together. 


Angled Envelope Fold

I think the angled envelope fold had a lot of potential to be suitable for what I needed, and it looked relatively simple. It also leaves a lot of large empty spaces for content, which is always nice.


The folded out form of this fold is at an angle, which is something that's definitely a positive because it implies progress, which is generally what a process achieves.
 Re-folding the envelope is quite difficult though and lead to me bending and creasing some of the panels, which looked ugly. This is definitely the main drawback of this fold.
The exterior of this fold looks really nice. I particularly like the sense of secrecy it has about it, as it doesn't initially have an obvious way to unfold it, which keeps the contents (the process) more personal.


The Trihexaflexagon Fold

This was something that had a really appealing concept to me because in the final product you don't really have any folds, they're more like spines, it was something I wanted to try out.


It's not really obvious in the photo, but this fold works by folding the thing together and then unfolding it in a different way. I tried to demonstrate this by putting different markings on each face.

While I do really like this, I think it's a bit complicated and delicate to use for my project as it doesn't really reflect the rigidity of my process, more something a bit more fluid.


Conclusion

It's been quite fun experimenting with the different folding methods, but I've come to the conclusion that other than the angled envelope fold, none of them have the rigidity that reflects my process, and even then I feel like the envelope fold is a bit gimmicky, something that isn't really present in my process.

Because of this I think I'm going to use a more standard tri-fold leaflet, as it allows me completely separate sections whilst keeping the ability for me to link them together through the design pretty easily. I prefer the tri-fold to the get fold because I like the idea of having equally sized spaces, and I prefer it to the accordion fold because I think the birds-eye view of the shape of the accordion fold is pretty ugly.


I will probably end up going for an A5 sized leaflet as it reflects my fondness for things to be regular and manageable.